Installing a Bambu Lab P1S Combo
and object design software for
some useful projects
(Last update 2026-07-13)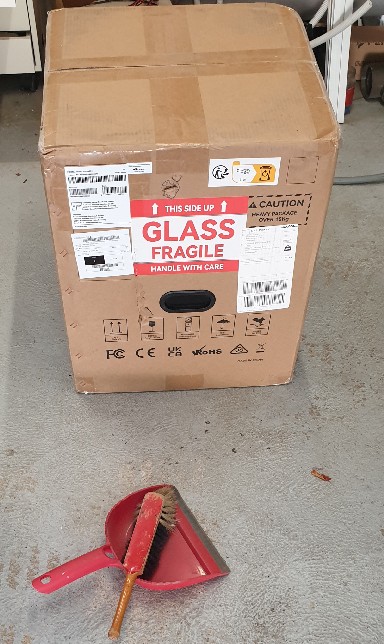
This big box weighing over 21 kgs was delivered
by the postman on his electric scooter!
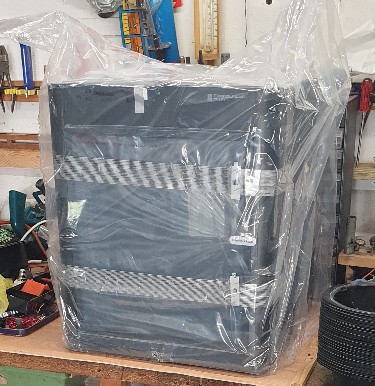
Lifted straight out of the box
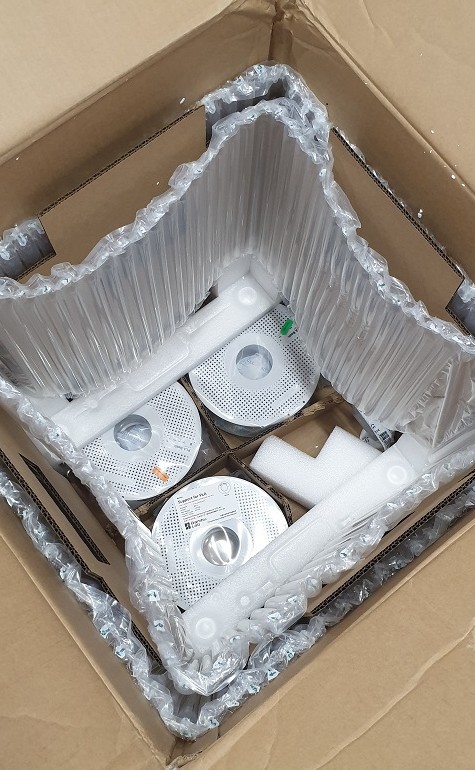
Goodies at the bottom
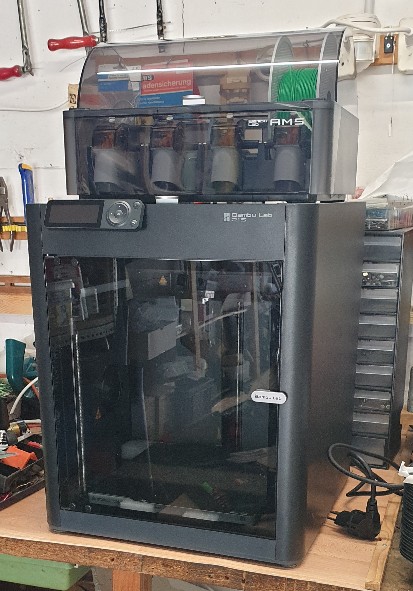
Fully mounted
sample calibrating
 |
Installation and setup
For connecting the printer to the WiFi it is necessary to install the phone app
Create an account and enter the parameters to connect it to the network
Also the standard Bambu PC application is used for doing the slicing to the printer.
Software choices
Nasscad was chosen initially because
it is a free complete online package, with no installation,
no account or login needed and files are stored in readable JSON format.
it supports 3MF and STL print compatible formats,
it's especially easy to use and fairly easy to master
but has some limitations when sharing objects between programs.
Also some irregularities were discovered with the Bambu software so design was moved to Blender 4.5
This product was chosen for it's scripting language - simply ask AI to produce the object
you need, run the generated script and your object is created.
Being fully parametrised makes it super easy to build and adjust by
instructing AI to produce or correct errors in the script.
The AI approach makes the creation of simple objects much faster
than trying to do it by hand.
It is also fully STL compatible with the Bambu software
which makes it easy to pass the files for printing.
Full scripts or STL files are provided for projects.
First projects
| Developing a special plug for the Enphase inverter testing |
| Developing a mounting case for an ESP32 C3 Super Mini |